
PS wall panel fasteners require a suitable connection. Try a panel sample at the wall before pricing either option. Check whether the coating can carry an adhesive bond; for clips, inspect edge engagement and identify sound anchor points. Put a panel sample beside the wall detail and examine both connections. Review the finished joint and access points alongside those connections. Resolve the detail before ordering fixings for the proposed wall installation.
Adhesive vs Clips for PS Wall Panels: The Core Difference
When adhesive is the practical starting point
Find both the finished wall and the panel backing in the adhesive substrate list. Check both appear within its permitted substrates, then compare panel instructions. Inspect the wall for dryness and flatness before accepting that combination. The visible face remains free of fixing marks. Paint lifted by a tape test or plaster powder left by a finger rub means preparation comes first. Check exclusions in the instructions before accepting a proposed bond. Strip unstable finishes or repair them; adhesive leaves a weak coating in place.
SANGNI PS wall panels have side connections and three fixing options: adhesive, brad nails, or installation clips. Select among them using the actual profile, wall construction, and fixing product. For sample approval, list the panel finish and backing beside the wall material and adhesive. Check that specific combination before accepting the adhesive proposal for the selected installation bay.
When clips deserve closer examination
On the panel section, locate where the clip engages. Trace its screw to the anchor and compare that path with the clip detail. Check whether that anchor position provides a suitable fixing point. Compare the specified spacing and permitted substrate with the wall detail. Request missing dimensions before accepting a generic wall-panel accessory. Being sold in the same category gives no assurance that the clip will fit the selected PS panel profile in practice.
Hold the proposed clip against the panel sample and compare that connection with the profile drawing. Next check where its anchors would enter the wall. Leave both options in the estimate while the connection remains unresolved. Once the sample and profile section confirm the detail, price that arrangement for installation.
Check the Wall and Panel Before Choosing Fasteners
Assess the substrate, coatings, and access
Check the wall detail for masonry, plasterboard, timber, or framing. Note what covers it: coating, repairs, moisture, or an uneven surface. An adhesive proposal must identify the layer taking its bond. For clips, locate anchors and check clearance for their hardware. A weak wall remains a problem whichever fixing is chosen. Mark services and inspection points on the wall layout. Ask the project team how those points will be reached once covered; resolve access before permanently fixing panels.
Match the panel edge and joint detail
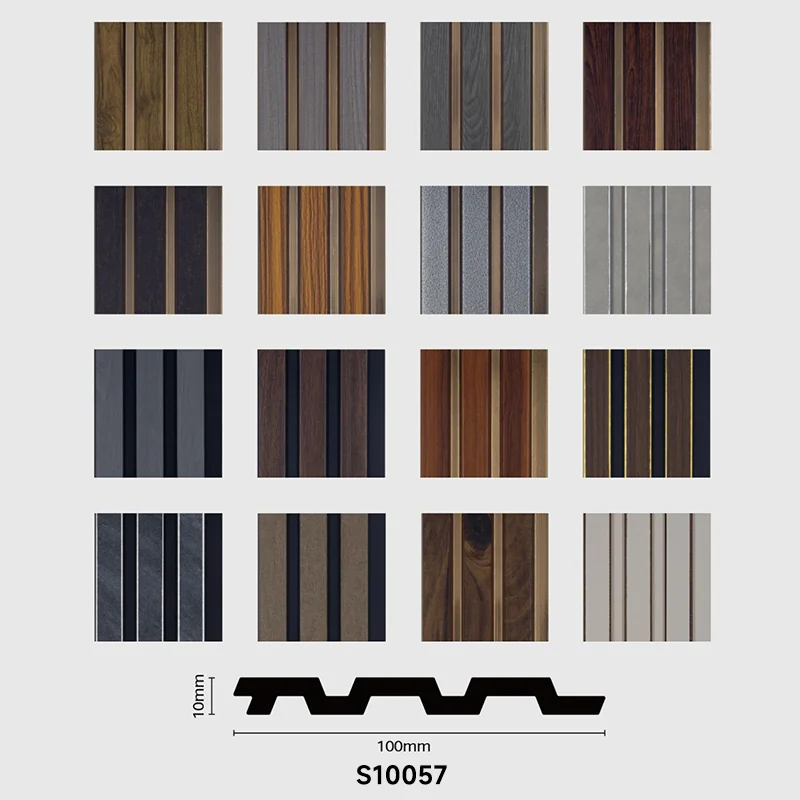
Side connections matter because the next board must engage without forcing or distorting the previous one. The SANGNI PS panel training description identifies side connections and lists adhesive, brad nails, and clips as possible ways to fix panels. It does not set universal clip dimensions, fixing intervals, or load values. Before cutting the first row, check that profile and trim pieces match the panel specified for the order.
Compare Installation Workflow and Future Changes
Plan an adhesive installation sequence
The illustrated method starts with measuring and cutting. Nail-free adhesive follows, then joints receive nailer reinforcement. A specification based on this example needs to retain both fixings instead of adhesive alone. Retain both fixing steps when reviewing this example rather than specifying adhesive alone. For the SANGNI panel, confirm the sequence against its wall detail before treating the illustration as installation instructions.
Bring two board edges together before opening the adhesive. In the method statement, describe this joint check alongside surface preparation, bead layout, curing support and conditions, plus reinforcement the instructions permit. Check whether their joint stays aligned under fixing pressure. A board that moves needs repositioning before cure; carry different panel instructions into the method statement.
Plan a clip installation sequence
Locate fastening points against the first setting-out line before any clips are attached. Inspect the panel edge with its clip in position, then check specified anchors against the wall material. Read screw sizes and clip spacing from the system instructions. During fitting, compare each new joint with the approved sample kept at the work area. While fitting the next board, inspect edge engagement beside the face alignment. Address distortion at that joint as it is assembled.
Decide by Fit-Out Location and Procurement Risk
Match the fixing plan to the location
SANGNI PS wall panels have decorative applications on bedroom headboard walls, living-room TV backgrounds, kitchen islands, wall and ceiling surfaces, and corners. List the location beside its panel and substrate on the installation schedule. Before transferring a feature-wall detail to a ceiling or island, review that new connection. Check overhead fixing, wet-area requirements, and fire-rated assemblies on their own terms; listing a decorative use does not establish any such approval.
Request the evidence that closes the decision
Read the quote beside its profile drawing and installation instructions. Compare the adhesive or clip specification with those details; check substrates, then edge and corner connections. Next separate included accessories from those the contractor must buy. Put wall preparation, fixings, labour, cutting waste, and future access on the same cost comparison. Until those items are included, the cheaper fastener may simply be attached to an incomplete estimate for the proposed installation.
Our PS wall panel range gives project teams adhesive, brad-nail, and clip fixing routes to evaluate. We recommend confirming the selected profile and wall condition before treating any route as the project standard. Review the relevant PS wall panel product and the wider wall panel range alongside a physical sample. Use the PS wall panel applications guide to compare decorative locations. For the ordered panel, confirm the fixing detail separately against the proposed wall.
Avoid Common Fastening Mistakes
Do not use adhesive to hide a weak wall
A fixing proposal should identify the layer carrying the load. If paint lifts or plaster powders, the bond would depend on that unstable layer. Mark damp, dusty, or uneven areas in the inspection record. Follow the preparation instructions for the specified adhesive; correct those defects before bonding rather than increasing the bead size.
Do not specify clips without a matching profile
Check the panel edge against the clip detail before counting accessories. Include anchor type, hardware clearance, and installation order in that check. Then use the sample bay to inspect joint closure and the finish at the final board or corner. Keep the clip quantity provisional until joint and end details are approved. Check the sample connection before converting provisional clip quantities into an order.
FAQ
Q: Can PS wall panels be installed with adhesive?
A: Yes. Adhesive is a fixing option for PS wall panels. Check the selected system's instructions against the panel backing and prepared wall. Confirm compatibility with both surfaces before applying the adhesive.
Q: Are clips better than adhesive for PS wall panels?
A: Test the connection. A clip needs an engaging edge and a suitable anchor location; adhesive needs a sound, compatible surface. Review those conditions at the wall before comparing the finished joints and access.
Q: What wall preparation is needed before gluing PS wall panels?
A: Check damp patches, paint adhesion, dust, and flatness first. Use the chosen adhesive's preparation instructions for this substrate, and carry its curing requirements into the installation method.
Q: Can clips be used on every PS wall panel profile?
A: No. Check the selected panel's edge drawing and approved clip detail. A clip from another wall-panel system may leave this profile disengaged or its joint uneven, despite fitting elsewhere.
Q: Should adhesive and nails be combined for PS wall panels?
A: Check the ordered panel's fixing requirements. The nailer reinforces joints after nail-free adhesive is applied in the illustrated method. Confirm fixings against the panel requirements, including nail position and substrate, before using that sequence.